If you earn in USD through freelancing, affiliate marketing, or remote work, knowing how to withdraw USD Wise properly is essential. The process is simple, but small mistakes can cause delays or extra fees. Here’s a complete step-by-step Wise bank withdrawal guide.
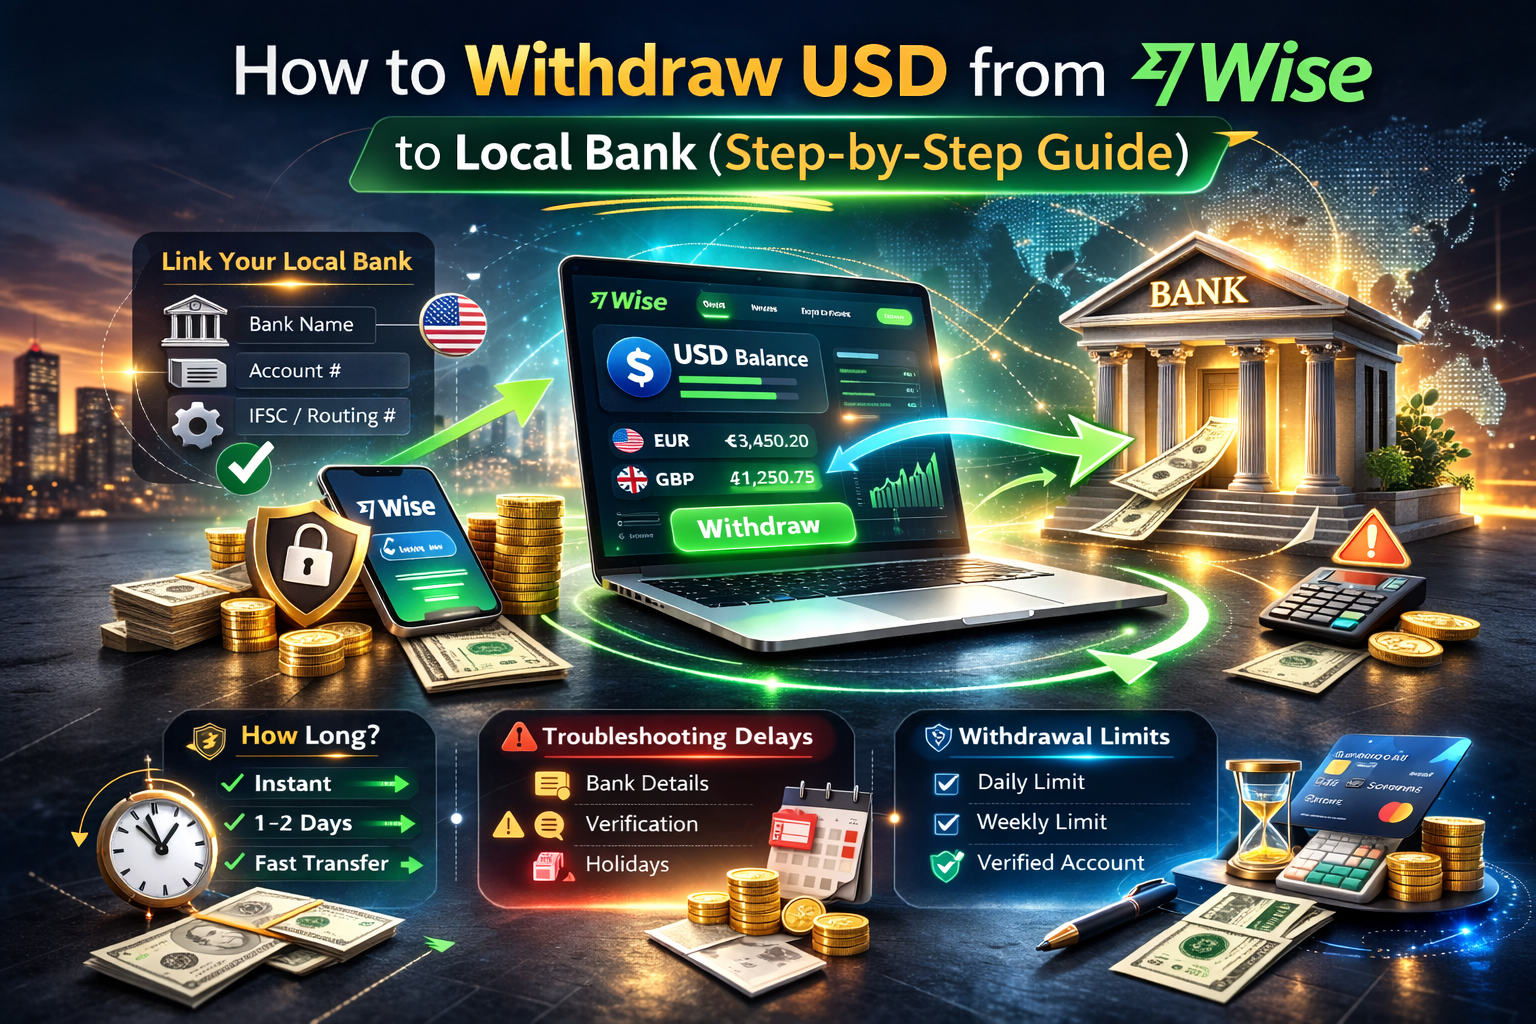
1. Linking Your Local Bank
Before withdrawing, you must connect your local bank account.
Step-by-step:
Log into your Wise account.
Go to “Recipients” or “Add Bank Account.”
Select your country and currency.
Enter your bank name, account number, and required routing details.
Confirm and save.
Make sure the account name matches your Wise profile exactly. Mismatched names can trigger verification checks or delays.
Once linked, you can withdraw anytime.
2. Withdrawal Fees Explained
When converting USD to your local currency, Wise charges:
A small transparent conversion fee
No hidden exchange rate markup
A real mid-market exchange rate
The exact fee depends on:
Destination currency
Transfer method
Amount withdrawn
Before confirming, Wise shows the total fee and how much your bank will receive. This transparency helps avoid surprise deductions.
3. How Long Does It Take?
Wise transfer time depends on your country and banking system.
Typical processing times:
Instant or within minutes (some countries)
Same day transfers
1 business day in most cases
Rarely up to 2–3 business days
Transfers are usually faster if:
Bank details are correct
You’ve completed full account verification
It’s not a weekend or public holiday
Most users experience faster delivery compared to traditional bank wires.
4. Troubleshooting Delays
If your withdrawal is delayed, check:
Incorrect bank account number
Name mismatch
Incomplete identity verification
Bank-side processing delays
Public holidays
Wise may temporarily review large transactions for security reasons. This is normal and helps prevent fraud.
Always double-check bank details before confirming the transfer.
5. Withdrawal Limits
Wise withdrawal limits vary depending on:
Your country
Verification level
Currency
Local banking regulations
New accounts may have lower limits until full verification is complete. You can check your specific limits inside your Wise dashboard under account settings.
For large withdrawals, consider splitting transfers if needed.

Final Thoughts
Withdrawing funds using this Wise bank withdrawal guide is straightforward once your local bank is linked correctly. By understanding fees, Wise transfer time expectations, and limits, you can move your USD earnings efficiently.